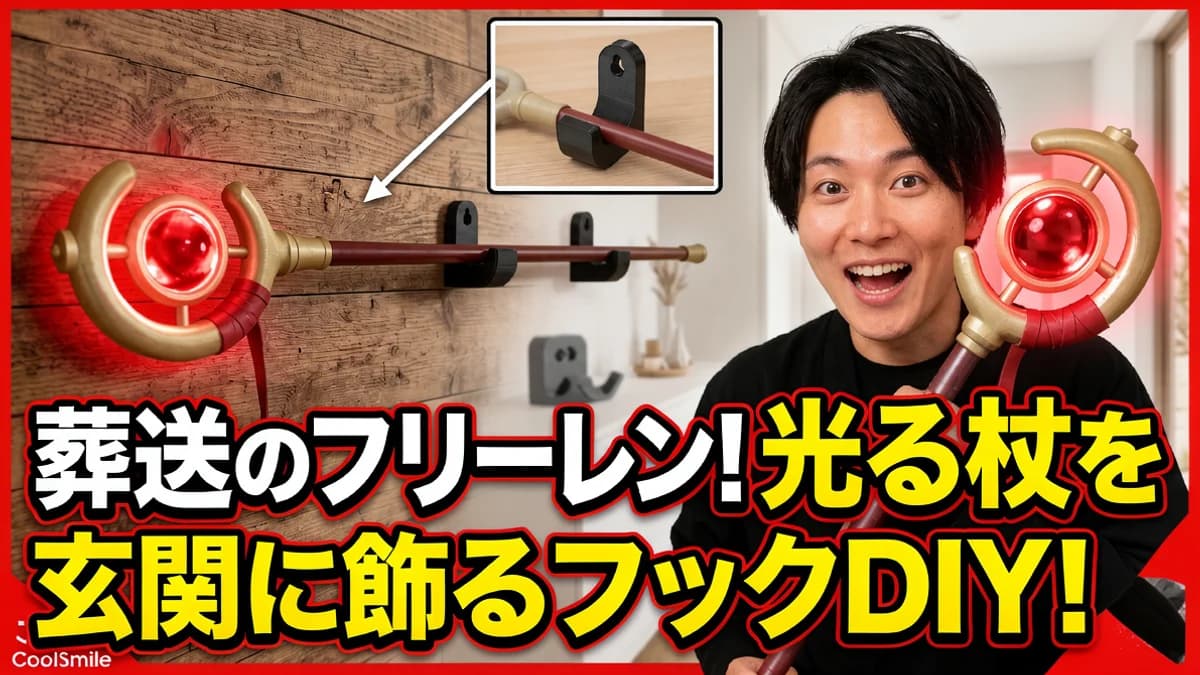

"It's a waste to just leave your favorite item lying around the room"—once you start playing with a 3D printer, everyone comes to think this at least once. This time, from the perspective of a DIY beginner, I'll share how I made the glowing staff that appears in the popular anime "Frieren: Beyond Journey's End" with a 3D printer, and then went on to make a custom wall-mount hook to display it stylishly in the entryway.
"3D printing seems hard," "I'm afraid I'll fail"—this is exactly the content I want such people to read. When you actually try it, what trips you up is always something "mundane." If you know about those mundane parts in advance, your DIY will get a whole lot easier.
It Started With the "No Place to Display It"
Problem
When I finished building the staff with my 3D printer, the first thing I struggled with was "where to put it."
A staff is surprisingly hard to find a spot for. Lean it against the floor and it falls over; lay it on a shelf and its presence vanishes. Even though I'd gone to the trouble of building in an LED glow gimmick, that would be a treasure wasted.
That's when I hit upon the idea of "displaying it on the entryway wall." It's a VIP seat that catches your eye every time you come home or head out. I searched for a commercial hook, but of course nothing exists that fits the staff's unique shape perfectly.
If it doesn't exist, just make it. This is the true joy of 3D printer DIY. Being able to make "a one-of-a-kind tool that fits your own creation perfectly" is a major appeal you can't get from off-the-shelf products.
What Do You Actually Need for a 3D Printer?
The first thing beginners wonder is, "So, what do I actually need to get?" Roughly speaking, there are only three things you need.
(1) The 3D printer itself—these days you can get a home unit starting at tens of thousands of yen (2) Filament—the resin thread that acts as the printing "ink." It comes in a rich variety of colors and types (3) 3D data (a model)—the equivalent of a blueprint. You either make it yourself or use distributed data
When you hear "making the data," you might tense up, but you don't need to make something complex from the start. If you begin with a "simple shape like a box or a tray," like this hook, even free design software is more than enough. To start, you can think of it as "drilling a hole in a square box."
My Attention to the Staff Itself
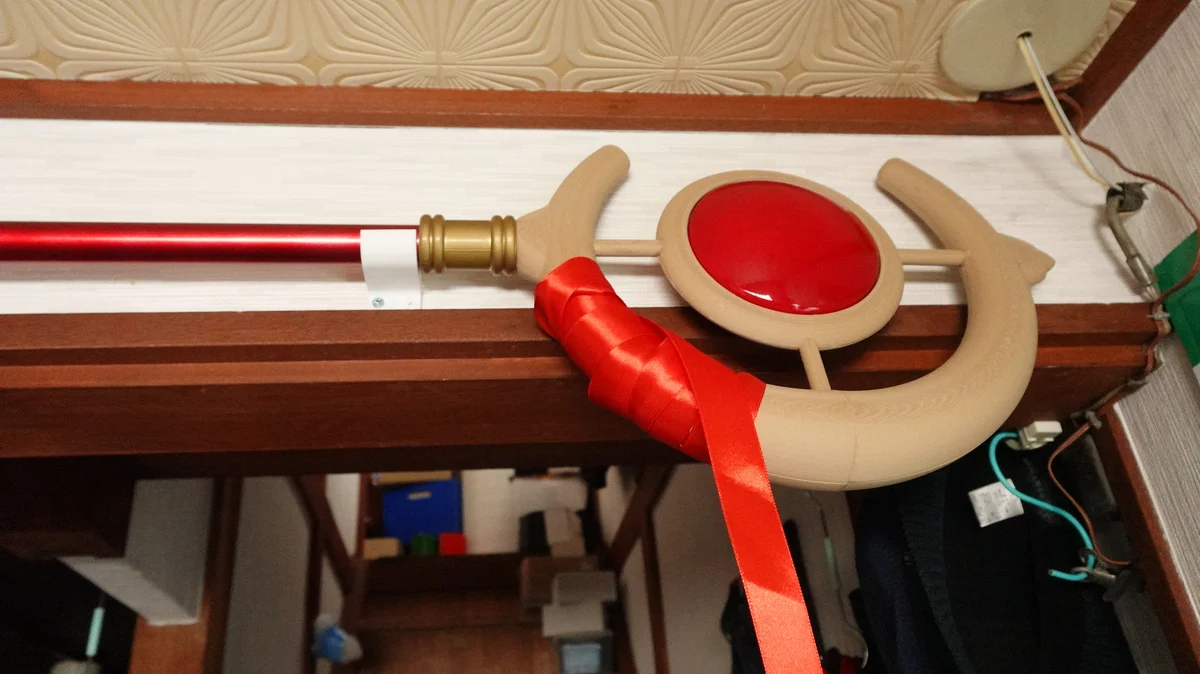
Before getting into the hook, a quick word about the star of the show: the staff.
This staff isn't just an ornament. It has an LED glow gimmick built into the tip, and flipping the switch makes it glow faintly and fantastically. It's the sensation of the anime world materializing right in your entryway.
Another point I cared about is the structure that splits in two at the middle. Why go to the trouble of splitting it? "Because I want to carry it around." When taking it to an event or a photo shoot, a single piece gets in the way even on a bullet train seat. If you design it so it "pops" apart at the middle, it fits in a bag and travel becomes much easier.
In the first place, home 3D printers have a limit on the size they can print at once. Long items like a staff are basically printed in sections. This is a constraint, but at the same time, it's a chance to create new value—"portability."
This way of thinking—"designing while imagining the scenes where it'll be used"—carries directly over to making the hook.
Designing the Wall-Mount Hook
Now, on to the main subject: the hook.
Since I can't use a commercial product, I model it from scratch to match the staff's shape. But don't tense up—what you do is simple: just decide "which part of the staff to support, and how."
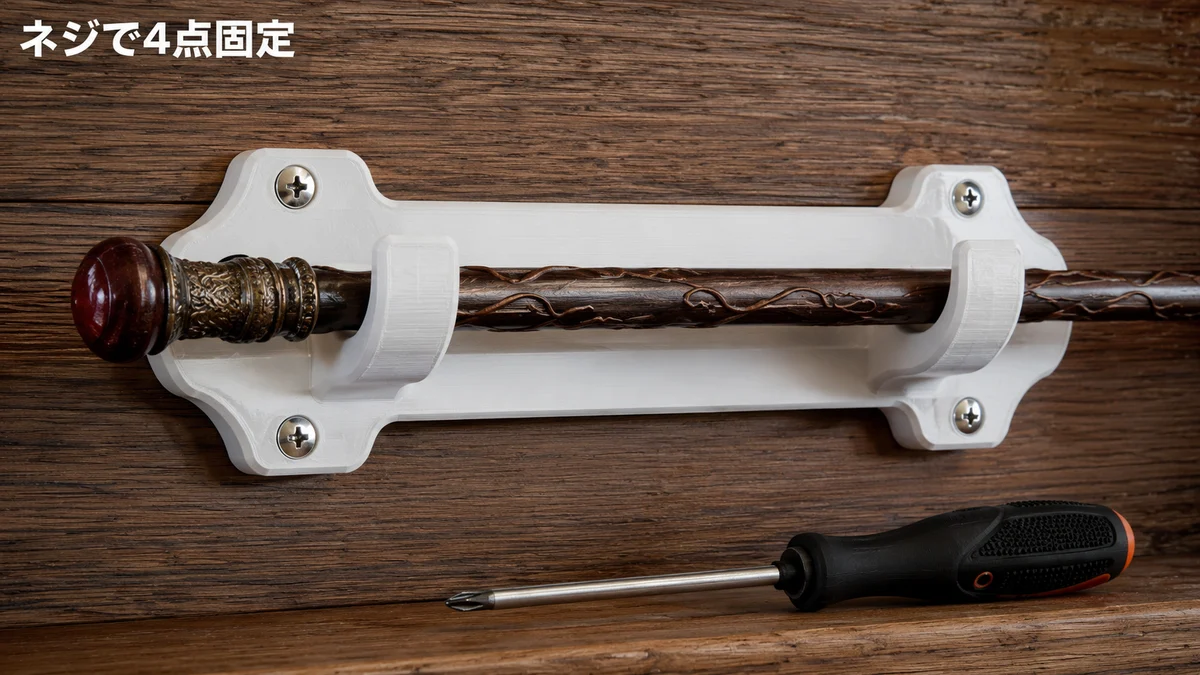
This time I actually measured the thickness of the staff and designed a tray-like shape that fits that thickness perfectly. I measured the staff's shaft with calipers (a ruler-like tool that accurately measures fine thicknesses), and added just a bit of "play" to those numbers to decide the hook's inner diameter. Too loose and it falls; too tight and it's hard to insert and remove. This "fine adjustment" is also the point beginners can enjoy most.
And what's easy to overlook is the method of fixing it to the wall. For a light small-item hook, double-sided tape is plenty, but this time we're supporting a fairly heavy staff. If it falls and breaks, it's a disaster.
So I built holes for four-point fastening with tapping screws into the design ahead of time. Tapping screws are screws you drive directly into a pilot hole to fasten things solidly. Supporting it at four points creates the reassurance that the staff won't budge even if you hang it up a little roughly.
A tip for beginners We tend to assume "things on display = light," but 3D-printed objects can be surprisingly heavy when packed densely inside. Estimating the weight you'll support first is the first step to making a safe hook.
Points Where People Easily Stumble in Printing
Once the data is ready, it's finally time to print. Here too there are "common pitfalls" beginners fall into, so let me tell you in advance.
One is warping. It's the phenomenon where the object peels off the printer's bed and the edges lift up. The fix is simple: keep the bed clean, and print the very first layer slowly and carefully. This alone prevents it considerably.
The other is the strength setting. Since this hook supports the staff's weight, I set the internal "density" (called infill) on the higher side to finish it firmly and sturdily. For ornaments, hollow insides are fine, but parts that bear force should have denser insides—this is worth remembering for broader application.
You don't need to feel down even if you fail. The great thing about a 3D printer is that you can easily remake it. If you think "the hole position is a bit off," just fix the data and print again. This "ease of redoing" becomes a strong ally for DIY beginners.
The Biggest Hurdle Was "the Center of Gravity"
Actually making it, what I struggled with most wasn't the modeling or the printing—it was the staff's center-of-gravity balance.
This staff has a head (tip part) that's quite heavy. Because the LED gimmick is also concentrated at the tip, simply hanging it would make the head droop, or put strange force on the split connection point and become unstable.
Without giving up here, I repeatedly held the staff against the wall, adjusting the position where the hook supports it in millimeter increments. What I was searching for was a single point that simultaneously satisfies two conditions.
(1) The most stable position where it won't fall (2) The angle where it looks most beautiful
These two often don't go together, actually. Pursue only stability and it looks awkward; chase only appearance and it becomes unstable. I patiently hunted down that just-right compromise point through steady trial and error.
When people hear "3D printer DIY," they tend to think "with the data, it's one push of a button," but what really matters is often this kind of analog trial and error. If anything, the time spent touching and checking with your own hands may be the most enjoyable step.
Finishing Touches and the Question of Cost
Freshly printed parts have fine layer lines (horizontal stripes) on the surface. If it doesn't bother you, leaving it as is is fine, but a little extra effort makes it look much more like a "finished piece."
The easy method is sanding. Just lightly stroking the surface to shave it down makes the texture smoother. Go further and paint it, and the resin-y look disappears, taking on the dignified feel of metal or wood. By painting the staff in separate colors this time too, I brought it much closer to the anime's worldview. I deliberately finished the hook simply, leaving it white to blend in with the wall color.
And about "money and time," which beginners are probably most concerned with. Filament costs a few thousand yen per kilogram, but a small part like a hook uses a tiny amount. In terms of material cost alone, it feels like a few dozen to a few hundred yen. Print time depends on size, but a small hook can be output in a few hours. Print it while you sleep or while you're at work, and it's not unusual to come home to a finished piece.
We tend to worry that "if I fail, the material cost is wasted," but the actual cost per attempt is very small. Being able to take on the challenge casually is one of the appeals of 3D printer DIY.
Complete! The Staff That Became the Entryway's Star
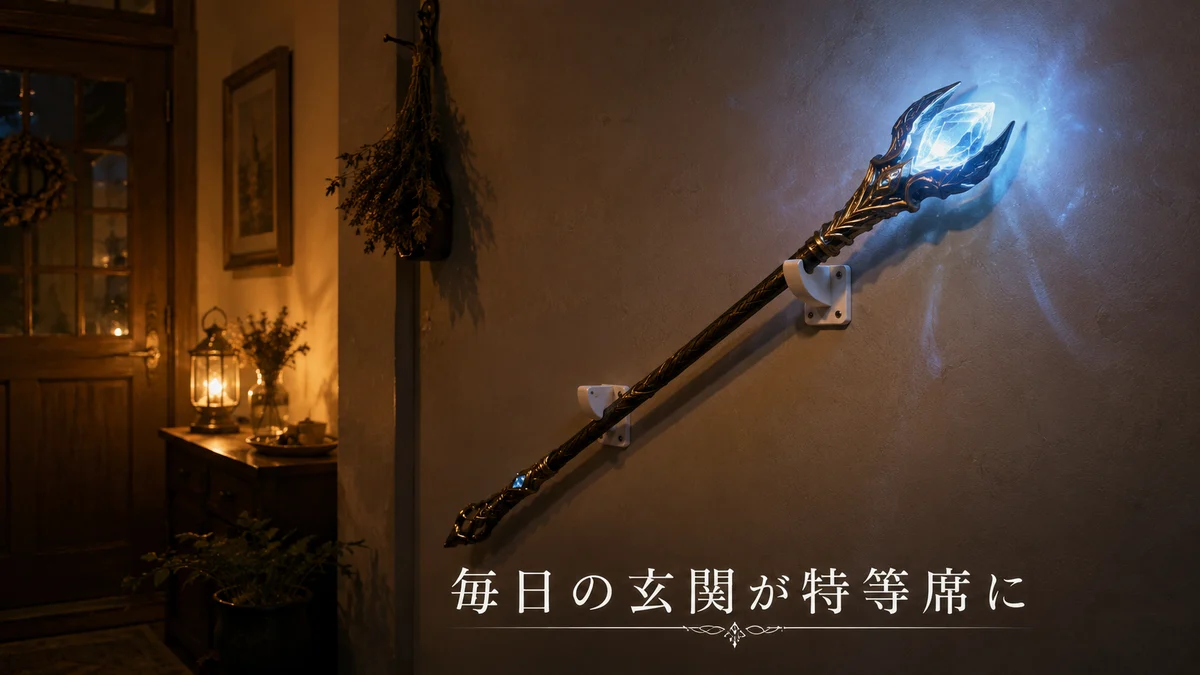
After all that effort, the hook was successfully completed. I fixed it to the wall with screws, hung the staff, and—it looked even better than I'd imagined.
When I come home and open the entryway door, there stands Frieren's glowing staff, quietly. Flip the switch and the tip glows faintly, making me feel as though I've stepped into the world of the anime. Visitors react well too, and I'm often asked, "Is this for sale?"
Above all, the fact that something I measured, designed, adjusted, and built myself is now woven into my daily life—this sense of satisfaction is, I feel, the greatest reward of 3D printer DIY.
To Beginners About to Take on the Challenge
Finally, just three "tips beginners benefit from knowing," gained from this DIY project.
(1) Think through the "place to display it" on the premise of displaying A creation isn't finished once it's made. Include "where and how to display it" in your design, and the level of completeness rises all at once.
(2) Decide the weight and fixing method first Especially for things displayed on a wall, thinking ahead about a fixing method suited to the weight you'll support (tape, screws, how many points) prevents failure.
(3) In the end, analog fine-tuning is what counts Even with data, the final "just-right position" can only be found by moving things with your hands. This very effort is the true joy of DIY.
A 3D printer is a magic tool that turns the "I wish something like this existed" in your head straight into a physical form. The first step takes a little courage, but beyond that step, your own one-of-a-kind creation awaits.
By all means, start with making an original hook to display your "fave." Opening the entryway door is sure to become a little something to look forward to.