
The heat waves keep coming day after day, and about a month ago we replaced the air conditioner in our home. I made the decision right before the real heat set in, and in hindsight it feels like the right call.
The hidden downside of a 16-year-old AC with a self-cleaning robot
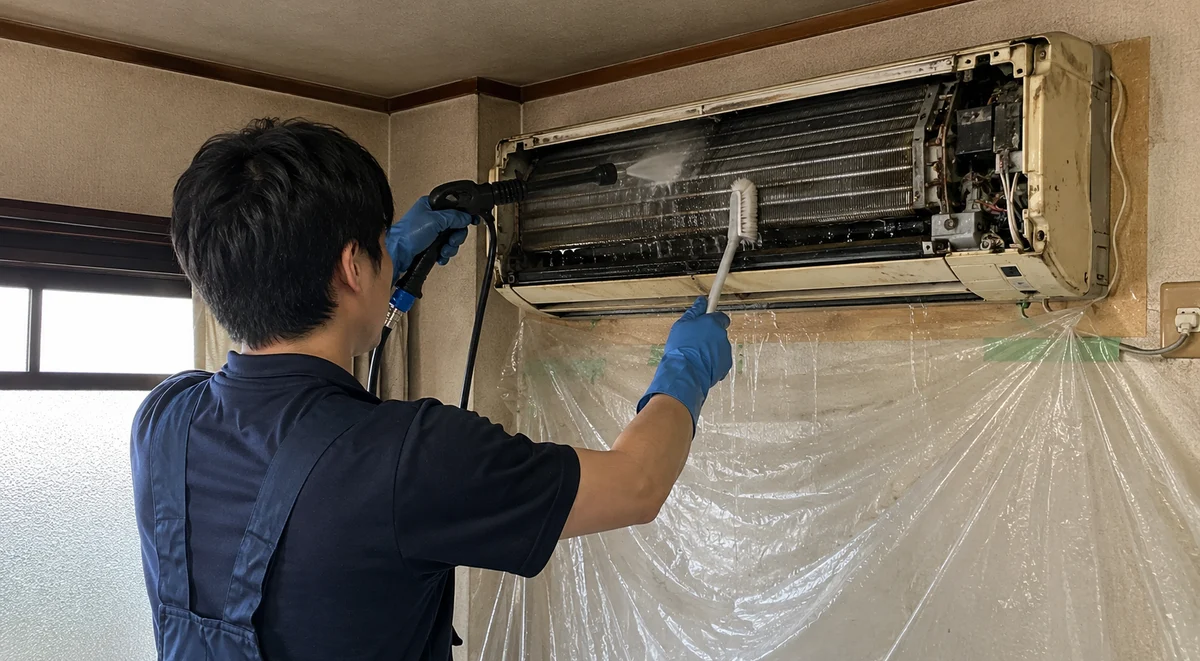
Until now we'd been using a Panasonic air conditioner with an automatic self-cleaning function, bought about 16 years ago. It was always installed in the living room — but the living room is also where cooking fumes drift. The oil slowly built up on the fins inside the unit, and unless I cleaned it twice a season it started giving off a powerful smell. Especially at the start of each season, when it first kicked on, a pungent odor spread through the whole room.
As a countermeasure, I bought my own pressure washer and commercial-grade detergent and took to disassembling and cleaning the unit myself. But the "self-cleaning robot" was the troublesome part: its complex internal structure made it hard to take apart, and every cleaning was a struggle. The brush couldn't reach deep behind the filter, so it often turned into heavy work — removing the entire cover from the outside and aiming the washer at it. It served us well for 16 years, but I felt its time had come.
Prioritizing reputation and quality: a Daikin 14-tatami model
For the replacement I chose Daikin, the industry's largest maker and the first name that comes to mind for air conditioners. I went with a model rated for 14 tatami (about 23 m²), and it cost around ¥150,000 including the mounting stand. It's in a slightly higher price range for the industry, but I chose it expecting that extra peace of mind in quality. Compared with a 16-year-old model, energy efficiency and precision of control have naturally advanced, so I factored in that "reassurance that doesn't show up in the numbers."
As for the breakdown, the appliance recycling and collection fee paid to the installer was about ¥17,000, and the piping connecting the indoor and outdoor units was about ¥3,000. The work itself went surprisingly smoothly — it was finished just a little over an hour after the installer arrived. The setup was a simple combination of a ground-floor room with a ground-floor outdoor unit, so I think the job was very straightforward.
The one thing that bothered me was the position of the outdoor unit. Right in front of it outside the house is a wall, so the heat it gives off while running bounces back off that wall. I worried it might hurt the exhaust efficiency a bit, but for now my conclusion is, "Well, I'll get by with this." Actually running it, it's quieter than the old unit and starts up faster, and I can really feel 16 years' worth of progress. Even on scorching days the room cools down right away, so losing the stress of waiting is a quietly big change.
Honestly, I'm quite satisfied with the new air conditioner itself. Maybe that's exactly why the finer details catch my eye all the more. I felt there's bound to be a gap between the quality of the main unit — "the part where the most money goes" — and that of something like a remote holder, "the accessory tacked on at the end."
The included remote holder just hung the remote on a single wood screw
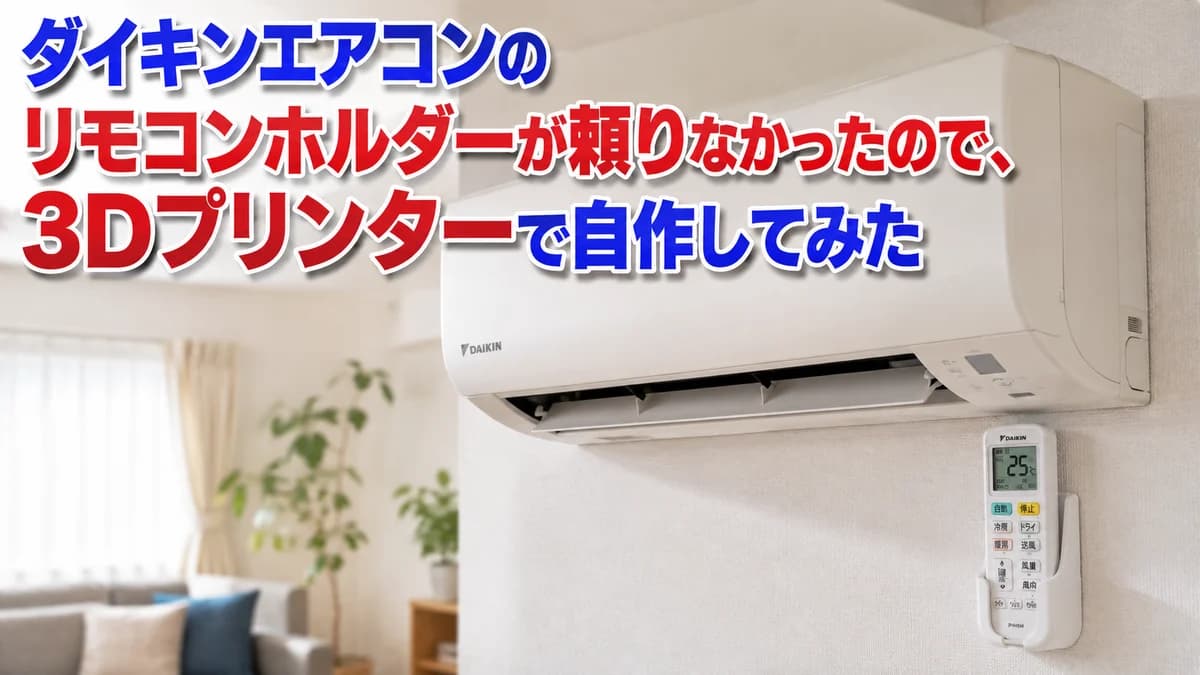
Now, on to the main topic. The model I chose was in a relatively basic price range, and the accessories were the bare minimum. The remote itself was the usual Daikin remote with a familiar shape, but the holder for fixing it to the wall was, frankly, a pretty clumsy thing — you just hooked the remote onto a single wood screw and let it dangle. The way it hung tilted against the wall never looked settled, either. In my previous home I'd had a similar complaint, left the remote sitting on a shelf, and often lost track of where I'd put it.
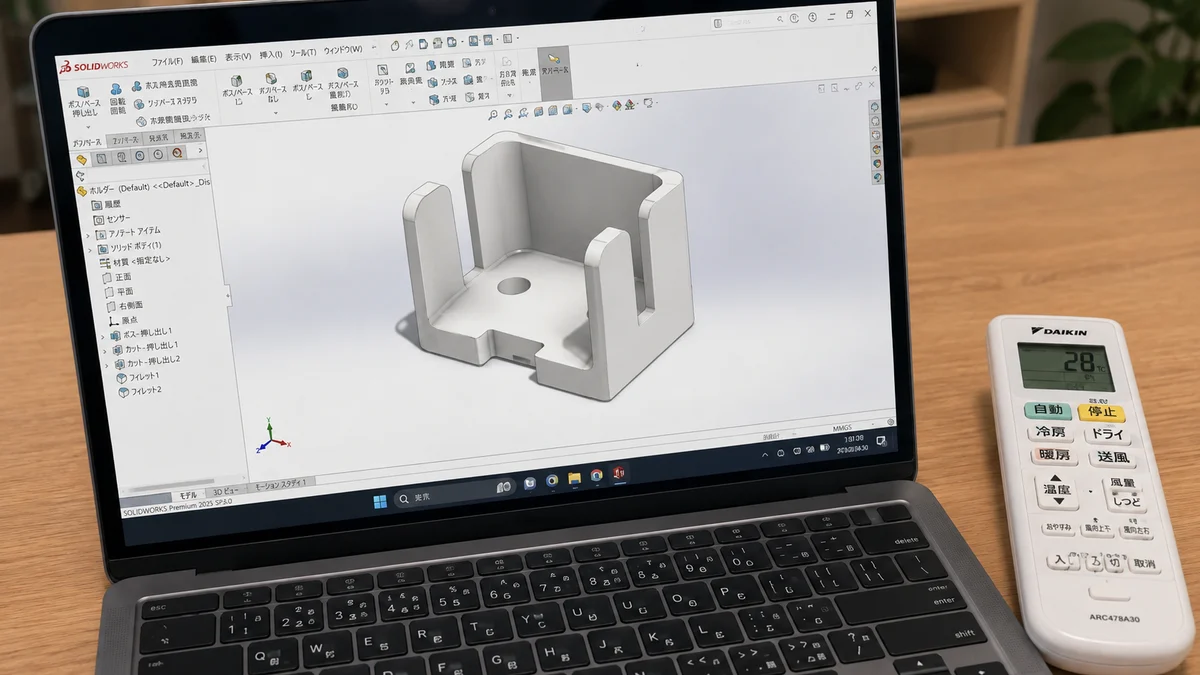
I wanted to do something about it. So I immediately fired up Fusion 360, the 3D CAD software I always use, and got to work designing a holder. I measured the remote's thickness, width and button protrusions with calipers and designed a "cradle" shape with a few millimeters of play. On the wall side I placed holes for two wood screws, and made it so the remote slides in and out from the bottom. Since it's software I know well, the design was done in just 30 minutes. Even I think I've gotten used to this.
Designed in Fusion 360, printed on a Bambu Lab H2D
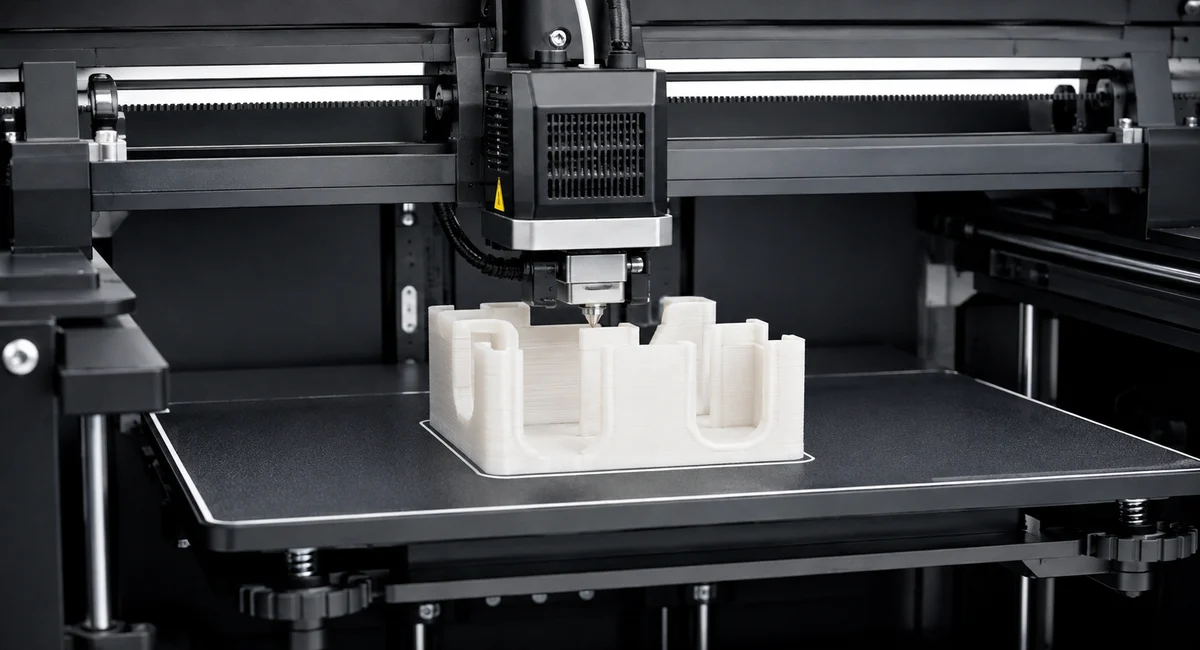
Once the design data was ready, all that was left was printing it on my 3D printer, the "Bambu Lab H2D." The print took about two hours.
On the first print, I underestimated the clearance (gap) between the remote and the holder, and it came out so tight the remote was hard to get in and out. This is something peculiar to 3D printing: the dimensions in the CAD data and those of the actual printed object inevitably differ slightly. Factors like material shrinkage and walls thickening outward by the width of the nozzle's path add up. So I redesigned it to widen the inner dimensions by a few millimeters, and the second print came out with exactly the fit I was aiming for. I think this trial and error — "it doesn't work on the first try" — is part of the fun of making things with a 3D printer.
The finished holder not only lets the remote slide in and out smoothly, it's also designed so you can operate the remote while it's still in the holder. It's fixed simply with two wood screws. I also made it in the same white as the remote, so I'd say it came out well enough that you can hardly tell it from a genuine part unless you compare them closely.
If anyone would like one, I can share this part. It's a homemade part born from a small complaint, but if you're interested, please get in touch. With the 3D data, anyone using a remote of the same model number should be able to print the exact same thing.
This kind of "if the manufacturer won't make it, I'll make it myself" thinking rarely comes from a life of only buying finished products at electronics stores. I'm reminded once again that just having a tool like a 3D printer at hand changes quite a lot about how you deal with the small inconveniences of daily life.
Thinking about the Kumamoto earthquake — what if we had to evacuate without air conditioning?
As an aside, while making the remote holder, I suddenly remembered the Kumamoto earthquake. For a week after the quake, there were people living as evacuees without air conditioning. When you think of how harsh it is to spend midsummer or midwinter in such conditions, securing electricity is a truly pressing issue. Being grateful for an everyday life where a 3D printer can fix a minor gripe about a part, and the gravity of an emergency where the electricity itself is cut off, are on completely different levels.
As a way to get power immediately after a disaster stops the lifelines, what I really hope for is self-generation — especially solar power. What I'm watching most closely is the "perovskite solar cell." It's said it can be made thinner, lighter and more flexible than conventional silicon types, so it could potentially be deployed not only on roofs but on walls and even tent fabric. If it becomes practical, it should be a great help as a power source you can easily unfold and use at an evacuation site. I sincerely hope it's put into practical use and spreads soon.
In closing
It started as a story about a small homemade 3D-printed part, but this experience reminded me that interest in social issues like this is connected along the same line as making things. As long as you have the blueprint, you can create what you need, in the shape you need, with your own hands. I want to keep valuing that small kind of freedom.
If you too have a small inconvenience at home that's "quietly annoying but not worth replacing," that may be exactly where a 3D printer comes in. If you make something, please let me know.